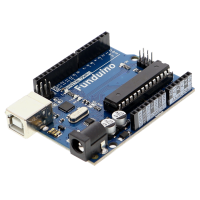
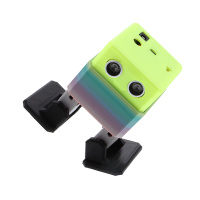
Funduino developer board (soldering exercise)
- Item no: F23107319
- Weight: 0,04 kg


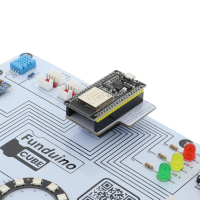
Discover the Funduino developer board (soldering exercise)
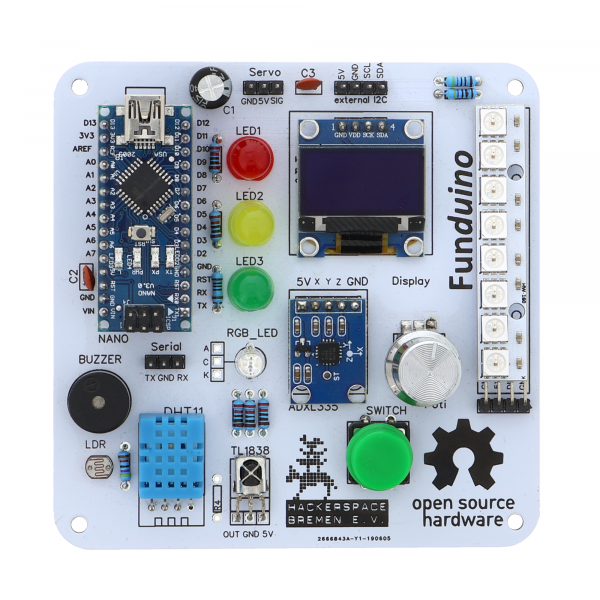
In cooperation with Hackerspace Bremen e.V., we have developed the Funduino developer board in a soldering kit to give budding electronics experts an understandable and entertaining introduction to the world of microelectronics.
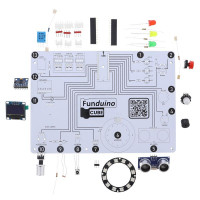
The soldering kit contains a variety of LEDs, sensors and actuators and an external connection for motors. The knowledge gained provides an excellent basis for further Arduino projects.
The kit is supplied unsoldered. This promotes the learners' soldering skills and gives them the opportunity to adapt the soldering kit to their individual requirements. Of course, we provide detailed assembly instructions.
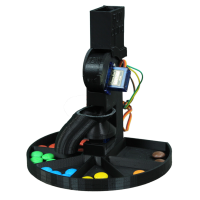
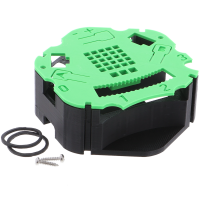
Attention proud owners of a 3D printer: As an additional accessory, we have designed a frame for the soldering kit to print out yourself, this is not included!
Helpful links:
Scope of delivery:
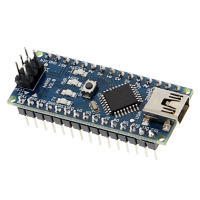
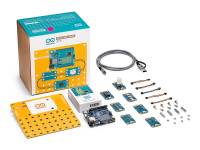
- 1x Arduino NANO compatible microcontroller (CH340 chip)
- 1x PCB
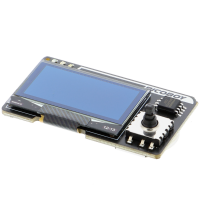
- 1x Display OLED 0.96"
- 1x DHT11 temperature and humidity sensor
- 1x loudspeaker
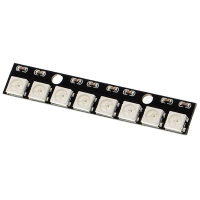
- 1x WS2812B LED module with 8 pixels (Neopixel)
- 1x TL1838 infrared receiver
- 1x LDR photo resistor (light sensor)
- 1x ADXL335
- 1x potentiometer
- 1x push-button
- 1x RGB LED
- 1x red LED
- 1x LED yellow
- 1x LED green
- 5x 220Ohm resistor (alternatively 100Ohm or 150 Ohm)
- 1x resistor 820Ohm
- 1x resistor 1.2kOhm
- 1x resistor 47kOhm (alternatively 10kOhm)
- 2x resistor 4.7kOhm
- 2x100nF capacitor
- 1x220uF 25V capacitor
- 2x pin header 1x3
- 1x pin header 1x4
- 1x pin header 90°
- 4x mounting screws
- 2x pinheader (socket)
Allround Sensor Board
Man spart sich Verkabelung auf einem Breadboard, da etliche Sensoren zum ausprobieren direkt mit den GPIOs verbunden sind. In der Aufbauanleitung sollte vielleicht eine Reihenfolge der Lötarbeiten aufgeführt werden. Ich habe versehentlich den Arduino Nano direkt aufgelötet, und nicht erst die Buchsenleiste. Ausserdem müsste das Handbuch korrigiert werden. Dort war in der Beschreibung, wie man das Board in die Arduino IDE einbindet die Rede, "ATmega328P (old bootloader)" als Processor auszuwählen. Da Nano Boards auch einem Update unterliegen, musste das Teil ohne "old bootloader" ausgewählt werden. Da ich das Board aufgelötet hatte, dachte ich, ich hätte es durch zuviel Hitze geschrottet. Als Pluspunkt dieser Probleme lernt man natürlich sehr viel über Fehlersuche.
Ein wundervolles Teil
Ich fand diesen Cube sehr interessant, mich hat begeistert
Die Montage ist einfach bis auf der Oled Display aufpassen am Plus und Minus sonst alles klar und gut, die Software dazu ist hervorragend man kann viel Lernen Besondern mit der dazu gehörigen Anleitung das Teil ist wirklich zum Empfehlen, ich würde das noch mal kaufen.
einfach toll!
Das Ding ist einfach super!!! Der komplette Zusammenbau war deutlich unter einer Stunde erledigt und das Beste: ES FUNKTIONIERT ALLES!!!!! Wirklich beeindruckend, alles auf einer kleinen Platine untergebracht... Da hat der Hackerspace Bremen wirklich gezaubert! Die Anleitung ist zielführend und sehr gut! Für den Preis einfach nur empfehlenswert!

