LED Halloween Pumpkin
Halloween is near and the spooky fever is rising. That's why this year there's a fun pumpkin for all technology hobbyists.
Traditionally, a face is carved into a hollowed-out pumpkin and then a candle is placed inside. But unfortunately the pumpkin only lasts a few days and the candle burns out. However, this is not the case with a 3D printed pumpkin and LED ring. This can shine through the whole night and longer.
Building instructions
Materials:
Step 1: Print 3D model
Download the 3D model of the pumpkin herunter and print it with your 3D printer.
Step 2: Assemble Electronics
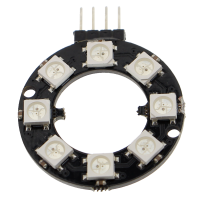
Connect the LED ring cables to the Arduino compatible Nano. Then connect the Nano to your computer with a USB cable.
Step 3: Transfer code
Open the Arduino IDE and paste the following code:
#include <Adafruit_NeoPixel.h> // The Adafruit NeoPixel library is used to control the LED ring
#ifdef __AVR__
#include <avr/power.h>
#endif
#define PIN 5 // Data line on pin 5
Adafruit_NeoPixel strip = Adafruit_NeoPixel(8, PIN, NEO_GRB + NEO_KHZ800); // In this example there are 8 pixels on the LED ring.
void setup() {
strip.begin();
strip.show(); // Turn off all pixels initially
}
void loop() {
for (int i = 0; i < strip.numPixels(); i++) {
strip.setPixelColor(i, strip.Color(255, random(100,183), random(20))); // The pixels each glow red-orange in random colors.
}
strip.show();
delay(random(100));
}
Then click the "Upload" button to transfer the code to the Arduino compatible Nano.
Step 4: Put LED ring into the pumpkin
Step 4: Insert LED ring into the pumpkin
Place the LED ring in the pumpkin and insert the cables through the opening in the pumpkin.
Complete!
Now you can admire your Halloween pumpkin with the LED ring.
Components of Funduino
- 1x Funduino Nano R3 CH340 chip soldered ready
- 1x LED ring WS2812B with 8 pixels
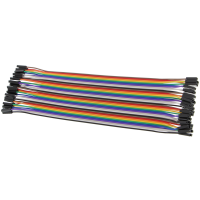
- 40 pieces breadboard cable female/female (20cm)


